When I first started to look closely at Chinook Premier and Concourse coaches as potential purchase candidates, one of the biggest issues that bothered me was the size of the fridge/freezer combo. I felt it was huge... way too much appliance for a compact coach, typically used for short duration trips and where general storage space was already in short supply. Ironically, on a couple of rigs I looked at while vetting candidates, the owners were using small Engel/Coleman style 12 v travel and camping fridges under the dinette table with the Dometic turned off (or broken) and being used to house general storage items. Comments I heard were; '...too big....too complex...too power hungry...too risky on the road...too unreliable in hot weather..." I felt that in such a small rig, and for one or two people for trips of a week or so, a much smaller and more efficient 12 volt compressor unit would be a better use of space and likely wouldn't detract significantly from resale value... and might actually add value. My ex-wife and I spent 8 very comfortable years as full time liveaboards on a 36 foot sail boat with a 3.5 cu ft unit and Danfoss BD 35 powered freezer that I built, so I had no qualms about downsizing and ditching the Dometic! But what should I replace it with?
There are literally dozens of shapes, sizes and manufacturers of cheap 12v travel fridges on offer, the majority from China, with similar numbers of You Tube reviews to add to the overload of selection information. From my boating experience I knew that an RV installation wouldn't need a top loading unit, to withstand the severe 'attitude abuse' of conditions at sea, so the sky was the limit in front loading shelf style models. However, again, based on my boating experiences, I knew that a 'proper' compressor fridge would be the most efficient, durable and reliable, preferably powered with a Danfoss BD 35 or 50 12v unit, which has become known as the 'gold standard' in marine fridges.
To cut a long story short I eventually chose a TF 130 from Truckfridge in Georgetown, Kentucky. Manufactured in Italy by Indel B, it is a little over 4 1/2 cu ft (130 litre) with a small but adequate freezer compartment and is specifically designed for custom installations in the rough and ready OTR trucking industry, plus it has a license-built Danfoss compressor. Indel builds products for top name brands like Norcold and Webasto so I felt confident the TF 130 would be a good investment. These units are not cheap but, as the saying goes, you get what you pay for!

So, let the demolition begin! The first major hurdle to overcome was getting the Dometic out of the coach.
Removing the exterior access panel and disconnecting the power and propane connections was quick and easy. The interior retaining screws and trim strips around the unit also came out with no problem and the whole unit slid forward out of the surrounding cabinetry...

So far so good. However, as I continued sliding it out of its home of 20+ years I ran into another problem!!

Close, but no cigar. Despite my most creative efforts to wriggle it clear of the cabinetry I couldn't make it happen. I removed the fridge and freezer doors, I removed the door to the head, pulled the edging strips from the surrounding cabinetry but, no matter what I tried, no joy. It was just too deep...front to back. Clearly the factory had engineered the assembly so that the Dometic was installed before the surrounding cabinetry. What to do?

After a bit of head scratching I realised that there was just enough room to reach the fasteners securing the absorption grid and propane heating assembly to the back of the cabinet. With no other non-nuclear (Sawzall) options in sight, I unbolted everything and split the Dometic into two pieces. With the cabinet free from the absorption system I was (just) able to pull it clear of the cabinetry and onto the floor in front of the head. Phew. One small step...I still had to get it out of the coach!

Next hurdle...get it out of the coach! Not so fast...more delights await. Even in its new 'slimline' form the cabinet was still a super tight squeeze in the entry area. It became clear that the entry and screen doors would have to come off and I quickly discovered that several of the hinge fasteners were stripped out. Evidently the factory had decided that tapping the hinge screws straight into the thin aluminium extrusion of the door frame was a smart move. The extrusion is only about 1/16" thick so there were only a couple of threads engaging on each screw and so, with the slightest bit of extra torque...to snug up a loose hinge......? A couple of hours was lost sourcing and installing riv-nuts to repair the hinge mounts.


After all the heartburn extracting the main fridge-freezer cabinet, pulling out the detached absorption grid and propane heater assembly was a snap.


In this one we see more evidence of moisture getting into the lower edge of cabinetry panels, possibly from wet carpet? This time the panel surrounding the small storage area below the fridge. At first glance it doesn't look bad, but....

....when I tried to unscrew it from the support cleats on the floor the fasteners and the panel both started to crumble.

The new Indel fridge finally showed up, so I was able to start measuring, making some templates and mocking up some ideas on a new installation design. In this pic I've just pulled the door off to reverse it. The old Dometic fridge door just visible on the right.

I decided to position the new fridge in the same general area as the Dometic, but about halfway between the floor and ceiling for easy access to all contents. This will leave enough room for an new, generously sized overhead locker to match those over the dinette. I'll use the factory door from the old storage nook under the Dometic for the new overhead locker. The large remaining area below the new fridge will become an open front storage bin with a cargo net front restraint, for loose, bulky items. In this pic I've cut a blank facing panel ready to mark out and cut the apertures for the three new features.

First cut out, for new top locker.

Second cut out, for re-positioned fridge, with shelf roughed in.

Third cut out, for new bulk storage bin. Cleats for shelves and front face panel being test fitted.

Top locker and shelves taking shape. Angled top is to clear the original moulded-in factory roof vent for the Dometic.

Test fit of the fridge and fine tuning shelf position.

Final test fit of front face panel.

It's time to do something about the big hole in the side of the coach where the combo access/vent cover for the Dometic had been. I had it taped over while doing all the messy interior woodwork, but now I needed a functional and cosmetically acceptable final fix.


Here I used the frame off the old cover assembly as a router guide to cut the new blanking panel with the laminate trimmer.

I used an old roll pin as a drill stop so I wouldn't go too deep into the blanking panel and break through with my pilot holes.

In this one the distortion on the side wall of the coach is clearly visible where the cover sits.

All buttoned up. I gave the cover a thorough hose down several times and couldn't see any sign of interior leaks. Fingers crossed that continues to be the case after some road miles. I'll keep checking it frequently as time goes on.

Back inside. Finished front face panel removed, ready for stain and final urethane finish. Note slight misalignment between top left side of new face panel and upper cutout aperture, needed to match the adjacent original factory cabinetry, which wasn't straight or vertical in either plane. More Trail Wagon quality?!
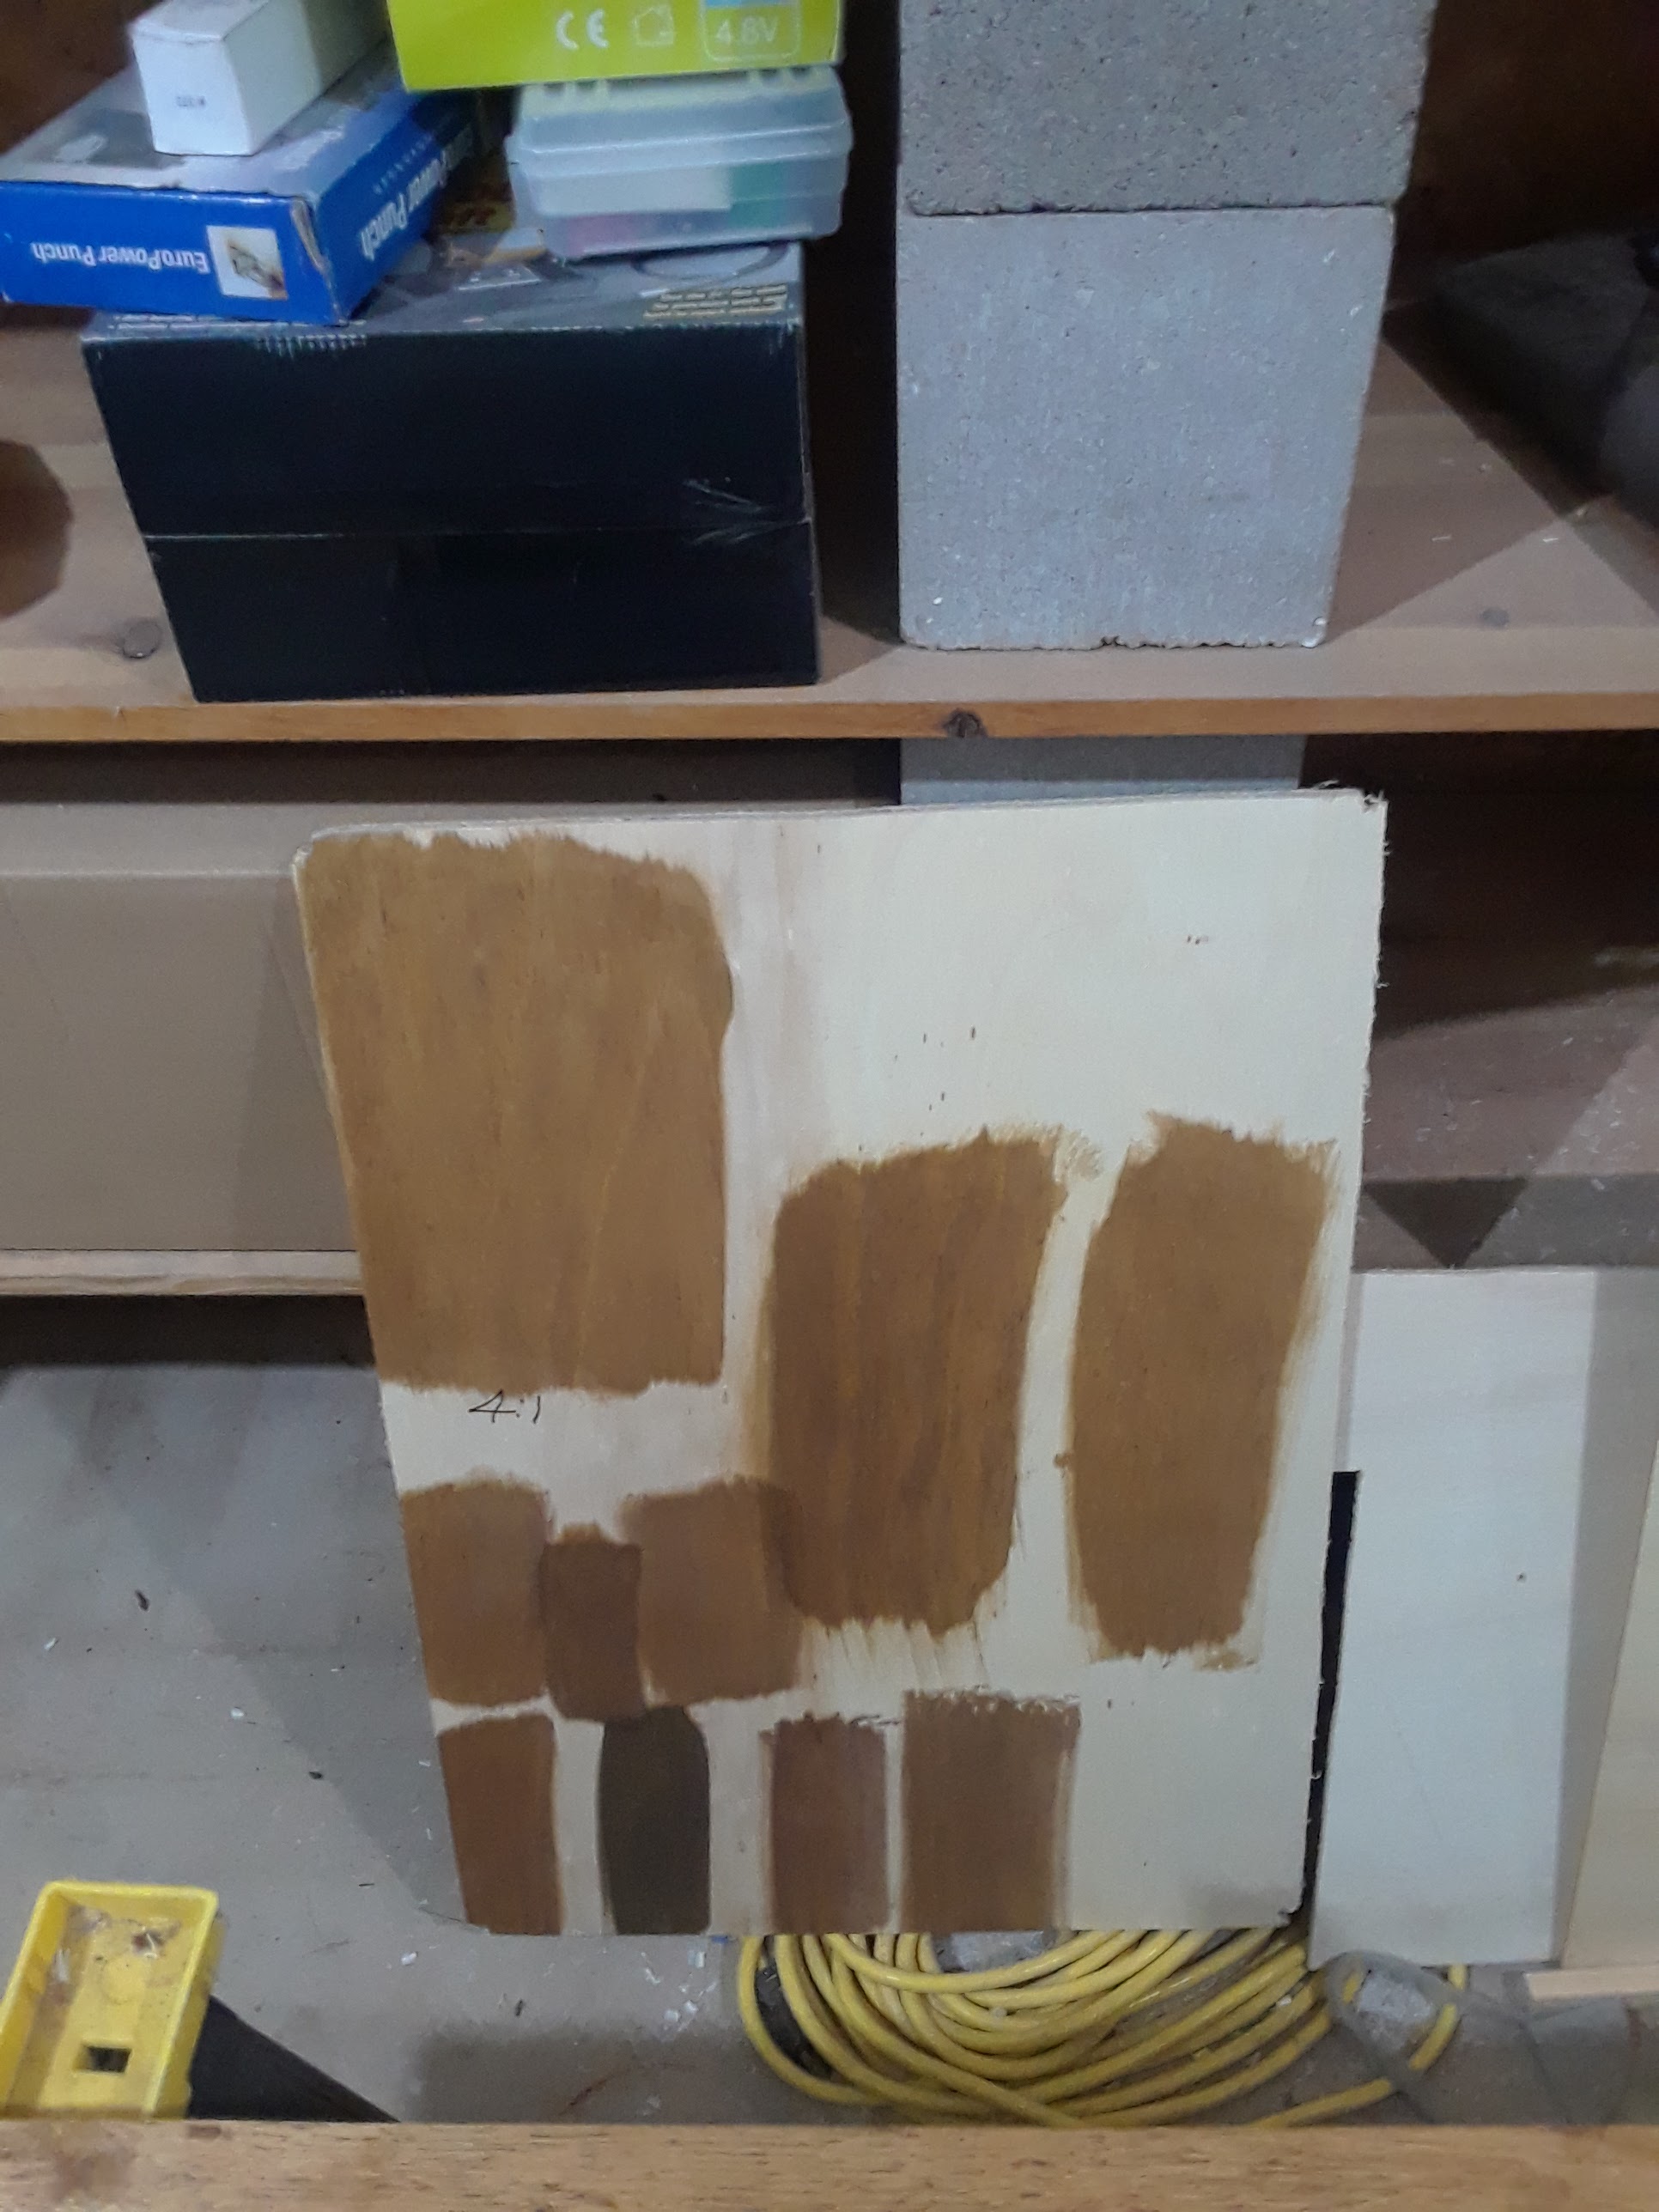
Trying to come up with some sort of a colour match with the faux veneer finish on the factory cabinetry.

Safety first!

Using a scrap piece of factory panel for colour comparison. Not the best match but close enough. The heavy faux grain 'plasticky' effect on the factory panels makes DIY matching very difficult, but my new face panel won't disintegrate if it ever gets damp and should look presentable when everything is all back together.

Carpet liner going into top locker. Also visible is an extractor fan positioned to align with Danfoss fan on the new fridge and draw air away from the fridge and out into the original air space, behind the fridge and up to the existing roof vent.

Getting close to final assembly. The top locker and fridge apertures are finished, with carpet liner installed and wiring for fridge and courtesy light in the new top locker both ready to go.

Front panel finally in place, top locker door fitted. Now all we need is the cargo net front for the bottom bin.

Here I've made a small switch plate from textured ABS sheet and mounted the fridge and fan controls next to the remote gen-set controls and hour meter over the hanging locker. I left some space for additional switch gear if I need it for some reason in the future.

And here's the final piece, hot from E Bay and trimmed down a wee bit to fit snugly. The support bar snaps in place with a simple hook and eye top and bottom...easy to use and rugged enough for even heavy items falling against the net. I can't believe it's finally finished!
Below are a couple of 'before and after' shots to show what was accomplished. It was a lot of work but I'm really delighted with the results. The loss of the freezer space (that was frankly excessive and functionally useless due to the inefficiency of the factory unit) is a small price to pay for the gains in additional easy access storage, particularly the bulk bin below the fridge. Despite the intrusion of the generator compartment I can still jam a huge amount of loose, bulky items in there that would otherwise be flopping around and cluttering up the coach. The Indel fridge is not much smaller than the Dometic and is perfectly adequate for the sort of trips I make. It is much more efficient than the Dometic, cycling only once every 30-45 mins in even the hottest weather. Even with the cheesy original Chinook solar panel I can leave it running without fear of house battery drain. I also don't have to worry about an open flame in the coach while on the road.


This was a much bigger job than I first imagined and I certainly didn't expect the removal of the old Dometic to be such a chore. In retrospect I should have realised that in the limited space on such a small rig the main cabinetry would almost certainly have been built around the major appliances. If I was to do it again I would go straight in with the Sawzall and rip the old fridge out and deal with the resulting mess as needed.


